Over the past few years, I’ve made a whole bunch of maps of fantasy worlds. It’s very easy to come up with something that doesn’t look natural, or something that looks just… really boring. Around this time last year, I came up with a method for making maps that:
- Look good
- Are easy to use for worldbuilding/tabletop games
I use a combination of physical and digital methods, but you can use whichever you prefer. If you’re going physical, you’ll be using pencils and erasers - DON’T use a pen! You need to erase things at several points throughout the process.
Getting Started
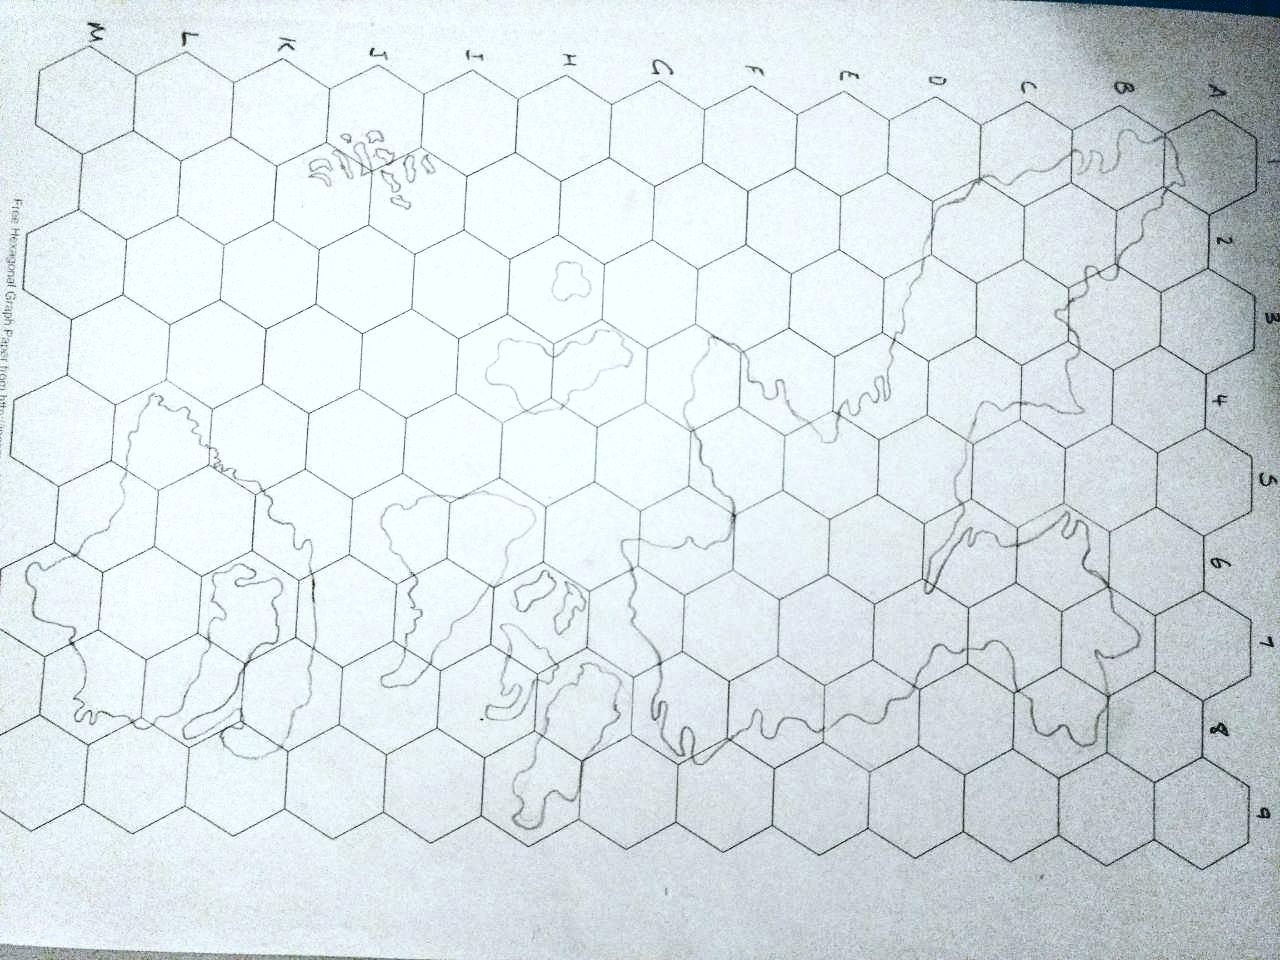
The first thing you’ll need is a hex grid. Incompetech has a nice page that allows you to create your own hex grid. You can use whatever size you like, but keep in mind that large hexes means that your map is going to show a small area, and visa versa. If I’m doing a map to show multiple continents, I use a hex size of around 0.5cm, and for individual islands I do a size of around 1cm.
For this article, I’m using a large size hex of 1.2cm:
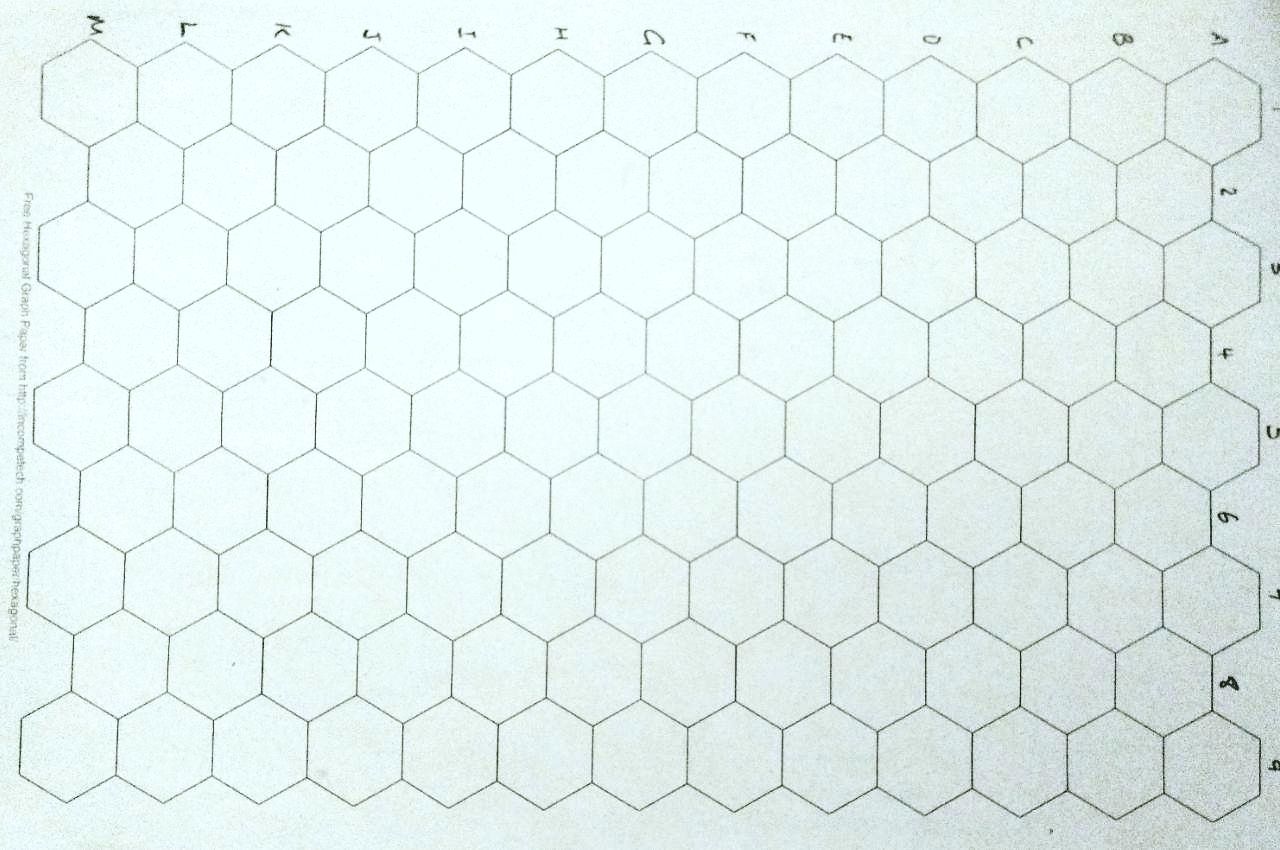
The numbers and letters along the side aren’t a neccesary part of this, by the way - however, they can make some later stuff easier, so feel free to use them if you like!
1. Outlining
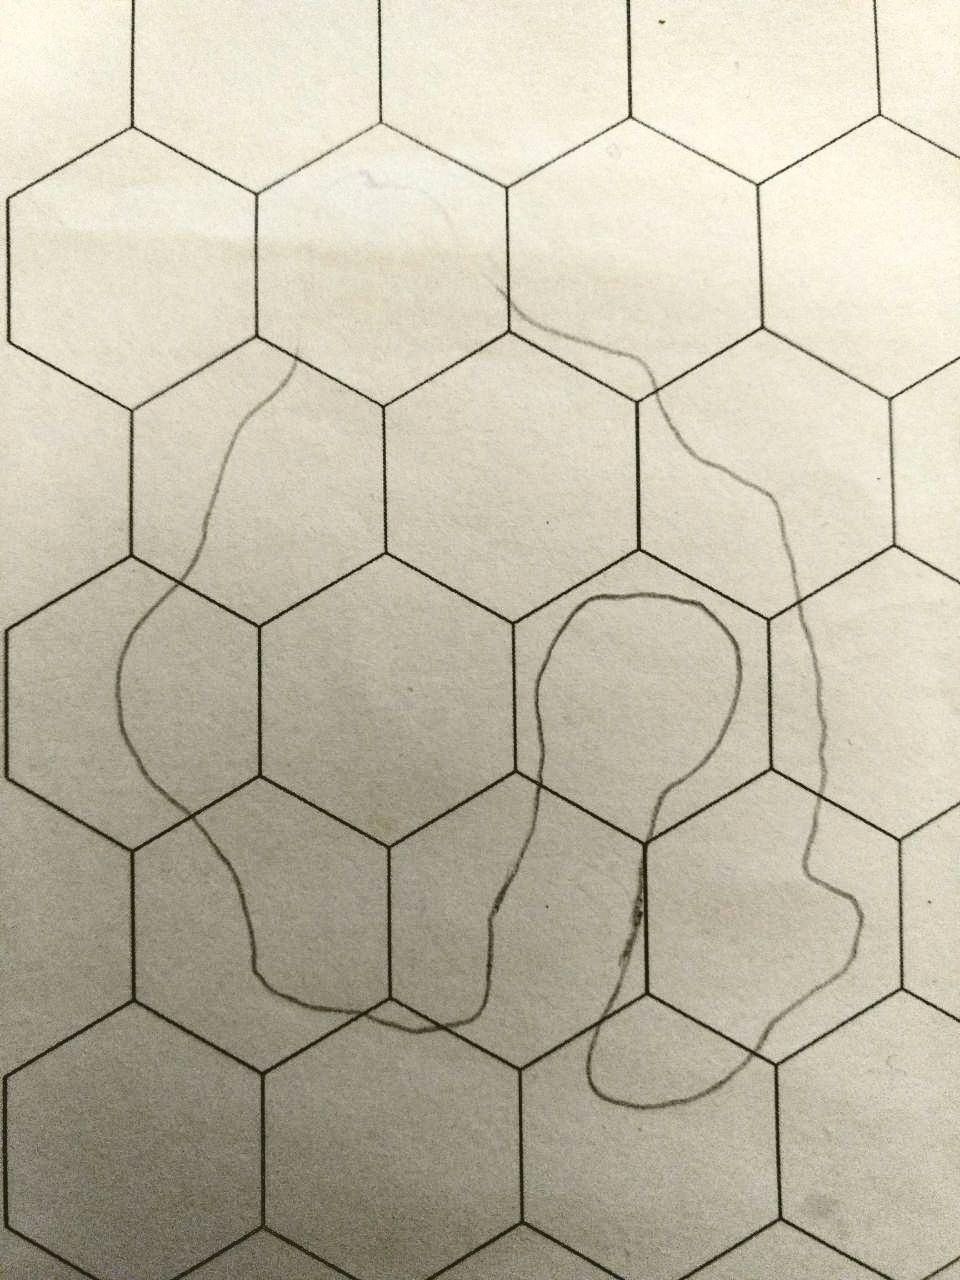
Now, here’s a fun part: we’re going to draw the outlines of our landmasses. The key here is that we’re not looking for the specific coastlines, we’re just trying to get the general shape. This is what the hexgrid is for - giving us a guide.
I think for my map, I’m going to draw an archipelago, with one big island in the east.
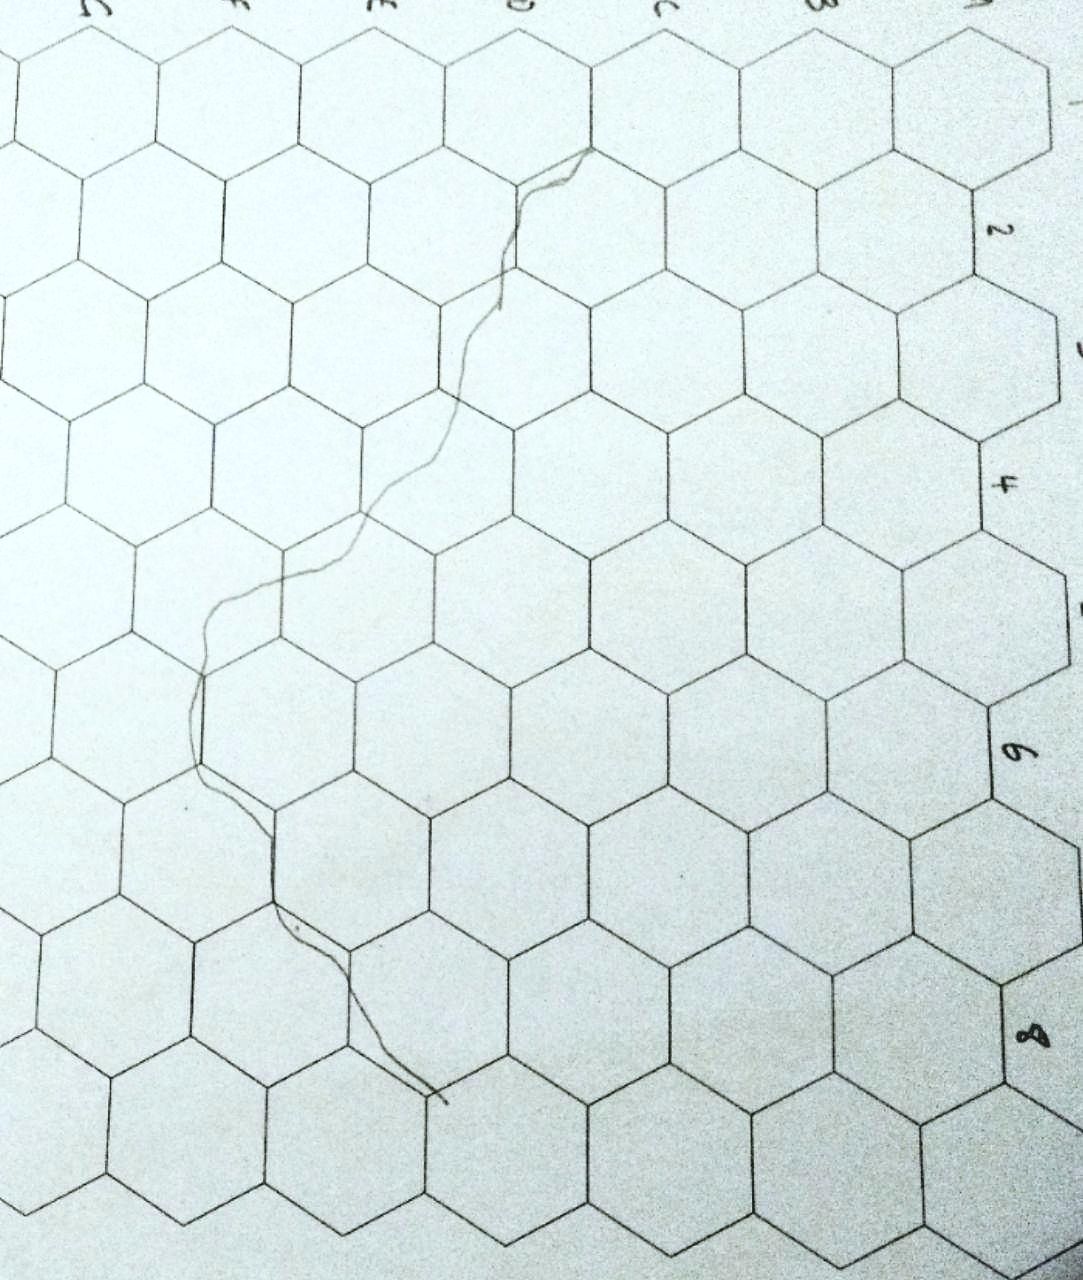
Here’s the first line I drew - notice how it basically follows the hexes, but is a bit wibbly? that’s how we get our initial shape. The exact wibbles don’t really matter - we’ll be changing them up later. At this point, I realised I didn’t quite like the shape of the bump in the middle, so I changed it to something more hook-like. I also decided to extend the coast westwards a little more after that:

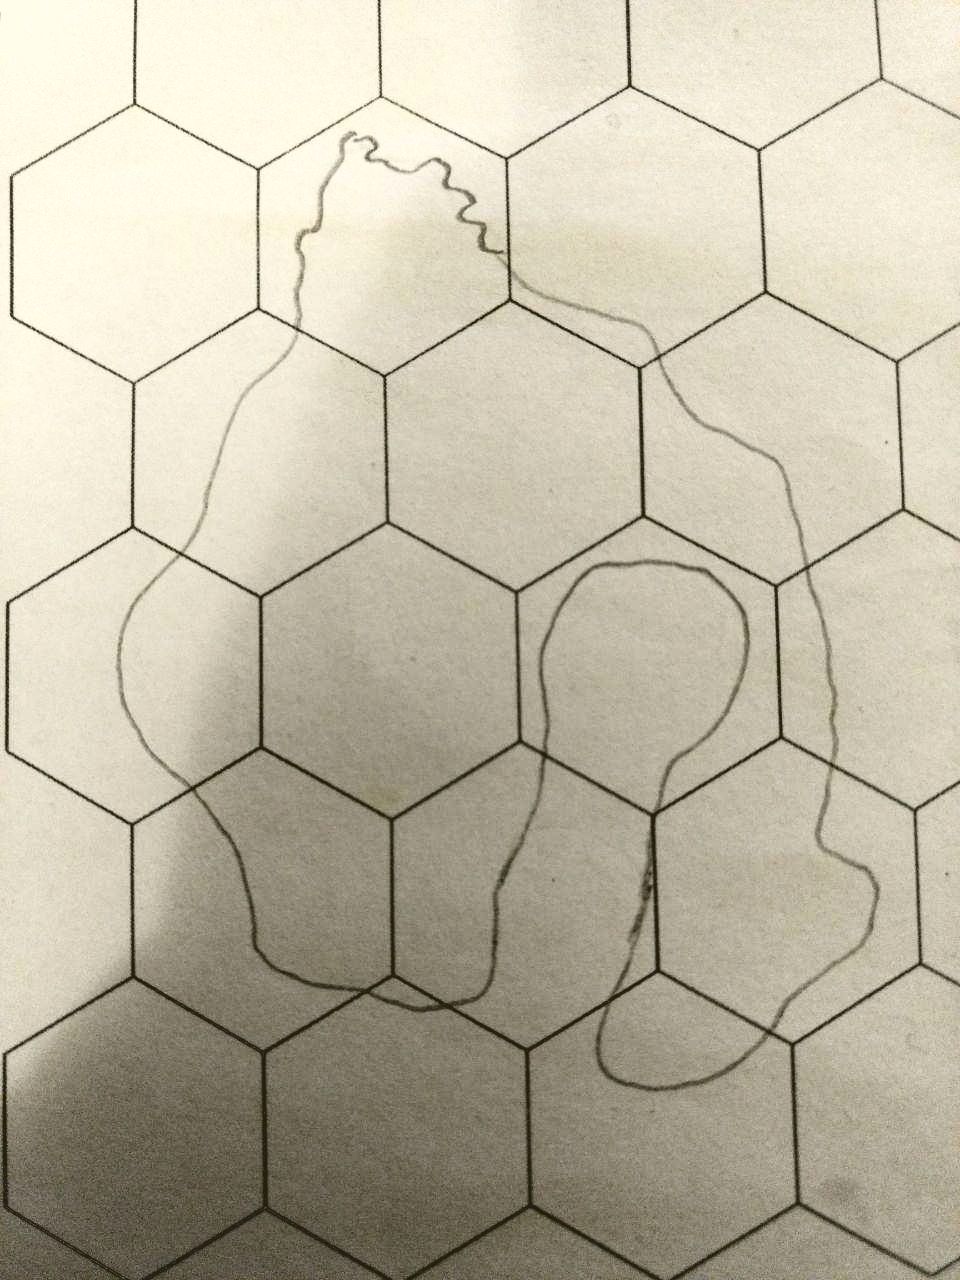
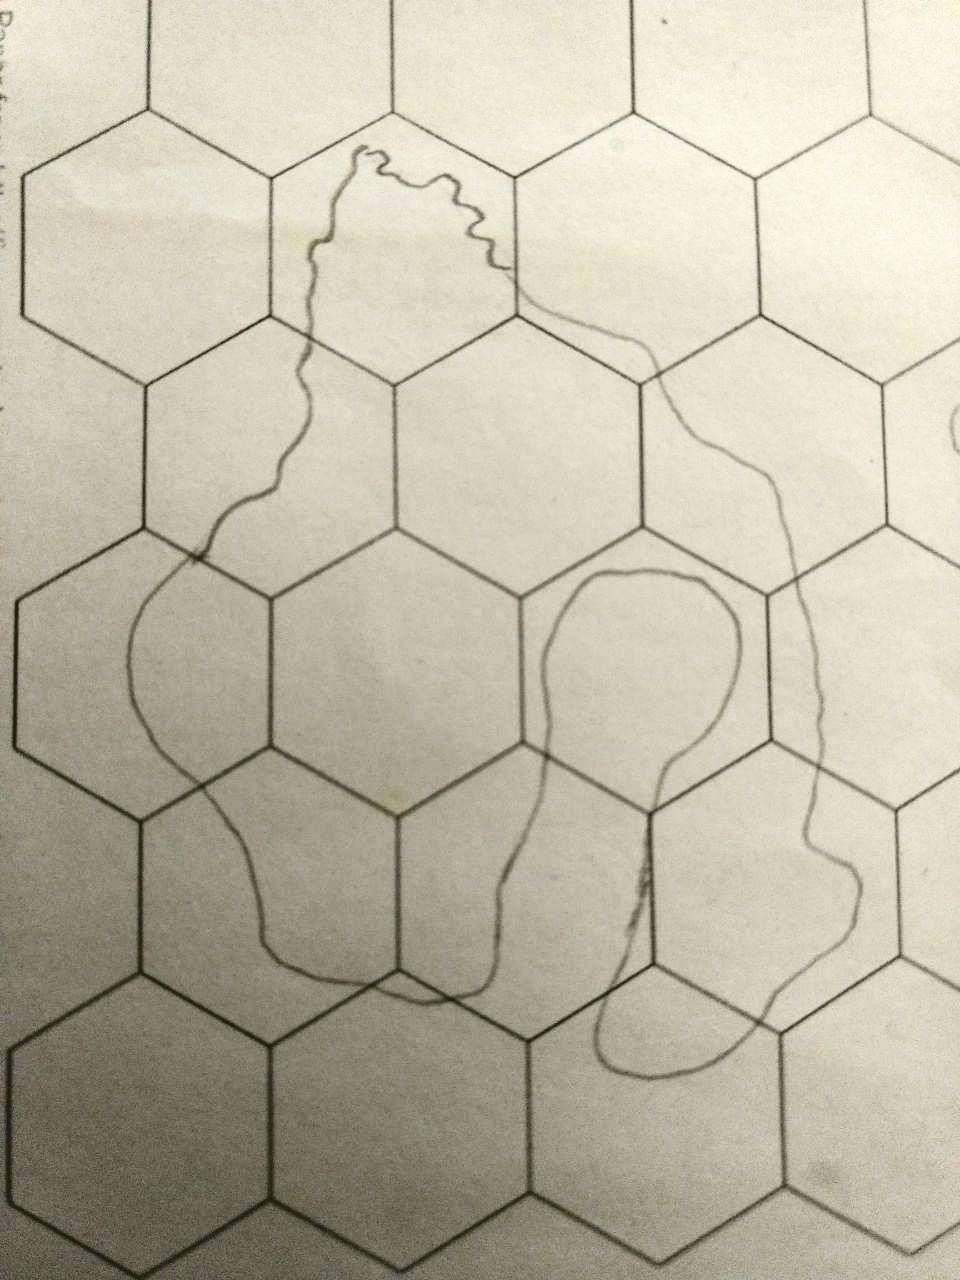
I know it’s hard to see, but I’ve filled out the rest of the island. Remember that in this stage we’re still following the hexes - the reason we use hexes instead of squares or just a free space is this: it’s easy to create borders that look natural-ish - like that bay in the center east of the island. I’m going to draw a few more islands now:
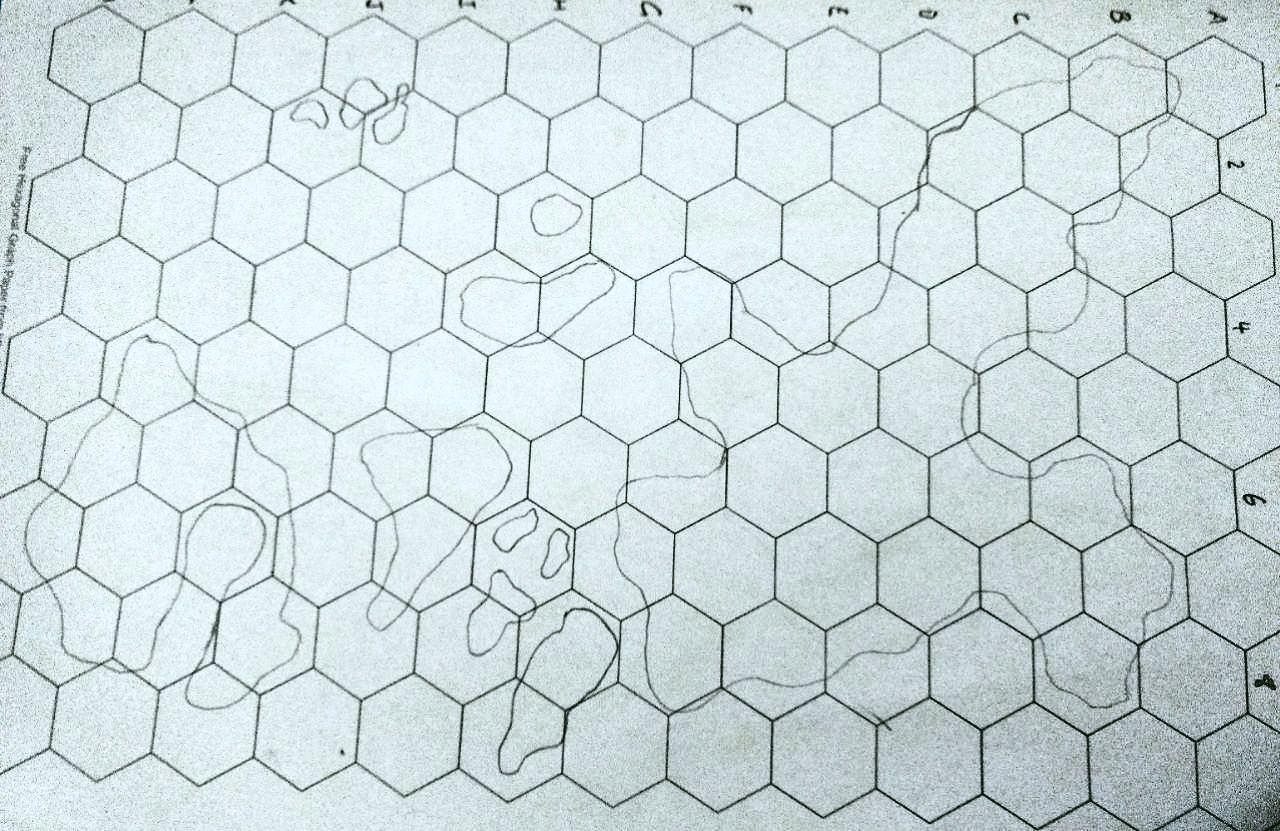
For most of the islands, I stuck to keeping with the hexes, but for a few of the smaller ones I had an idea and just freeformed it. Even then, the hexes are useful for scale. Several of the islands I drew were ugly and weird looking, so I erased them - don’t be afraid to erase something and draw something better! It doesn’t matter if your islands aren’t super detailed - we’re just looking for blobby shapes here.
TIP: if you draw the islands so that they look like they fit together at some point in the long ago past, it feels more natural. Additionally, you can think about erosion and current flow.
This step took me around 20–40 minutes.
2. Detailing Coastlines
Once you’re happy with the vague shape of your landmasses, it’s time to move onto the second step: detailing! Of course, if you don’t need any more detail than this, you can stop here. But I like to do this step. Be warned, though: it can take a long time. And this is the step where we really do need the eraser.
The process is this: erase one-hex, then re-draw it with a lot of details. I’m going to demonstrate this with the southwest most island.
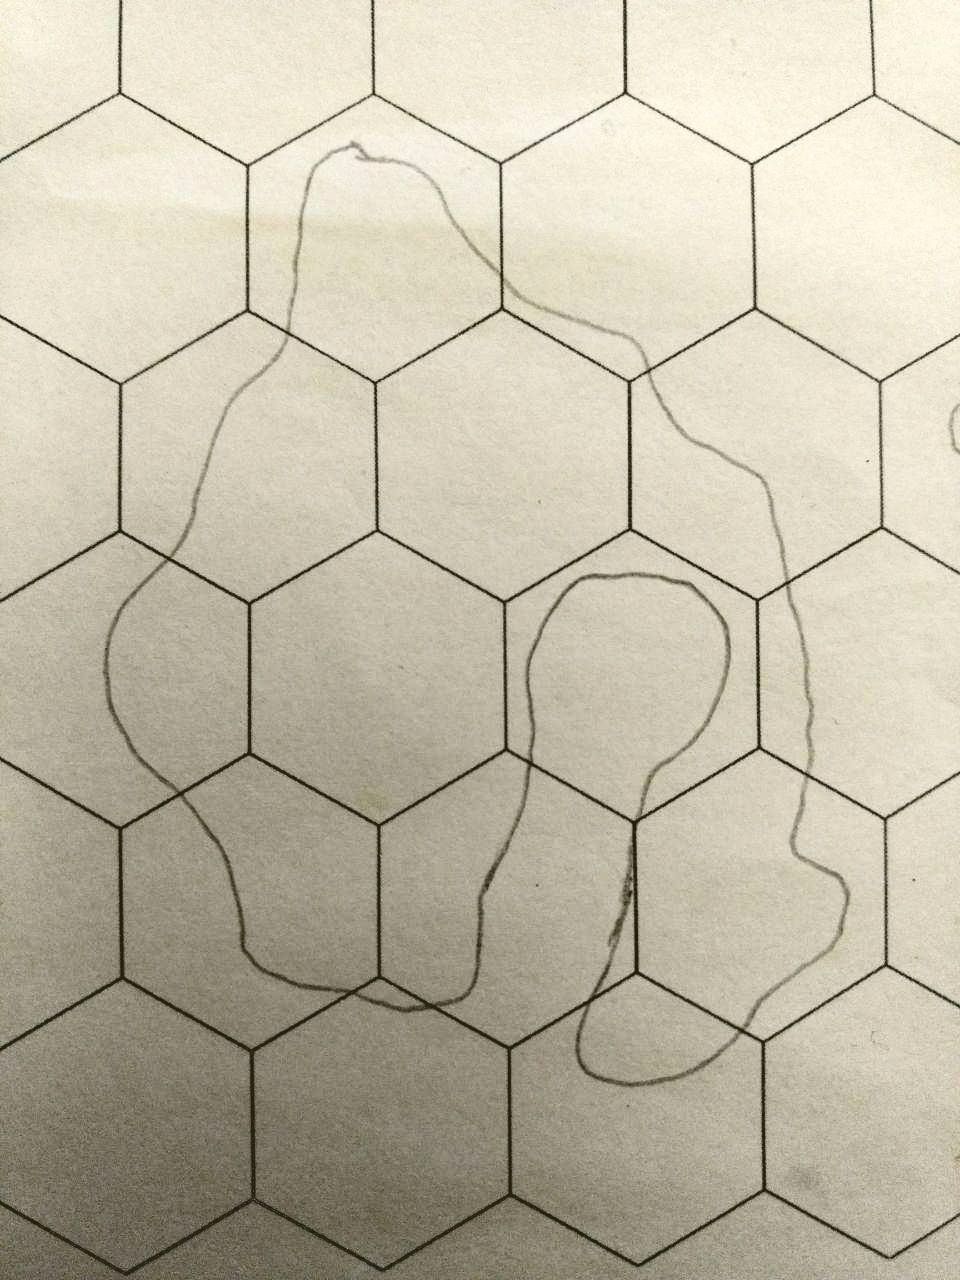
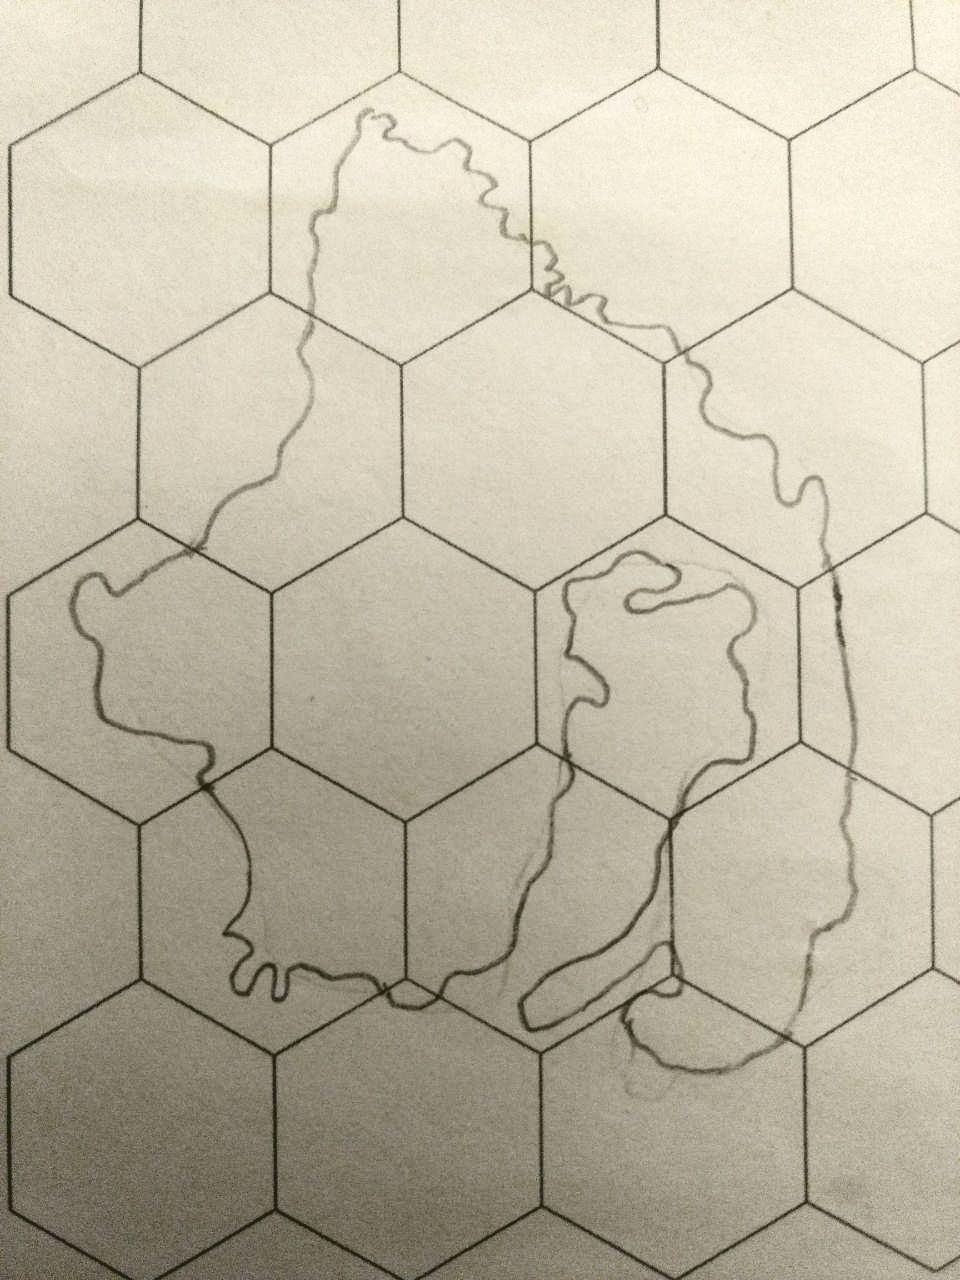
If you sit down and try to do the entire detailing for the island all at once, it would be incredibly overwhelming - but because we already have the guideline for the general shape, plus also we’re only doing small segments at a time, it’s actually really easy (and really fun).
An advantage of this method that I like is that if you mess up a detail, it’s ok! Just erase the hex again.
After around 30 minutes, I filled out all the details:
Note that I did make a few changes - I made the South Eastern Portion of the big island more penninsula like, for example.
And then I digitised it:
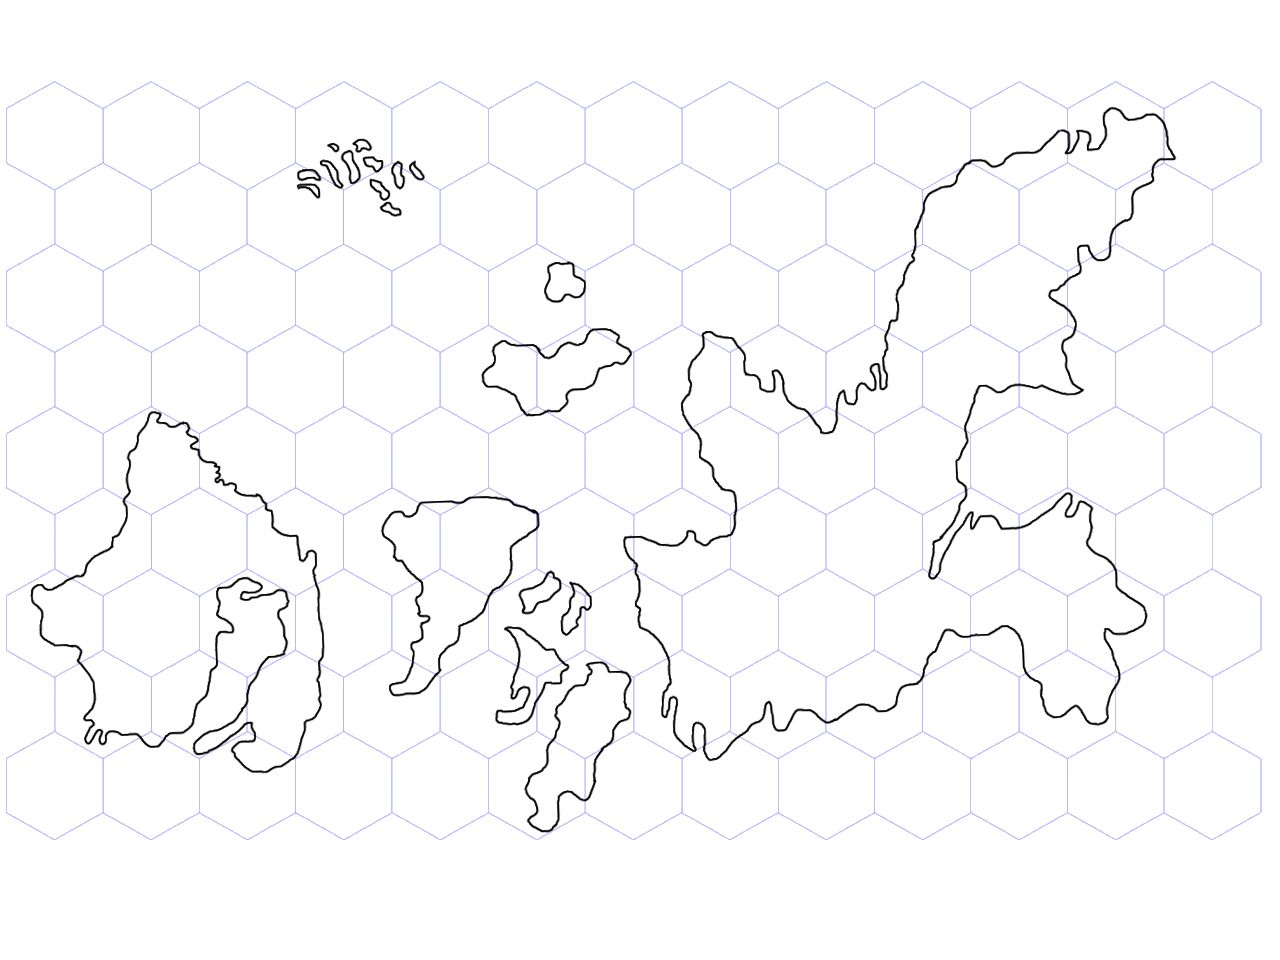
Note: you don’t need to digitise it. I do, because I like having the crisper lines of a digital map, but there’s a lot to be said for keeping it on paper. You probably want to make a copy of the map at this point – the next stuff will be good for an internal reference for yourself, but won’t be great for aesthetics. You’ll want a clean copy of the coastline for later on.
But…. why have we kept the hexgrid? Well…
3. Mountains and Biomes
It’s time to add stuff to the map! We’re going to put mountains and biomes in – using the hexes, of course! I like to come up with a list of biomes ahead of time. I’m going to say my archipelago is in a relatively arid part of the world, so my biomes are going to be:
- crags
- dunes
- savannah
- wetlands
- bushlands (like the australian bushlands)
I’m also going to make the southwest island a dormant volcano.
The first step is to draw the major mountains onto the map:
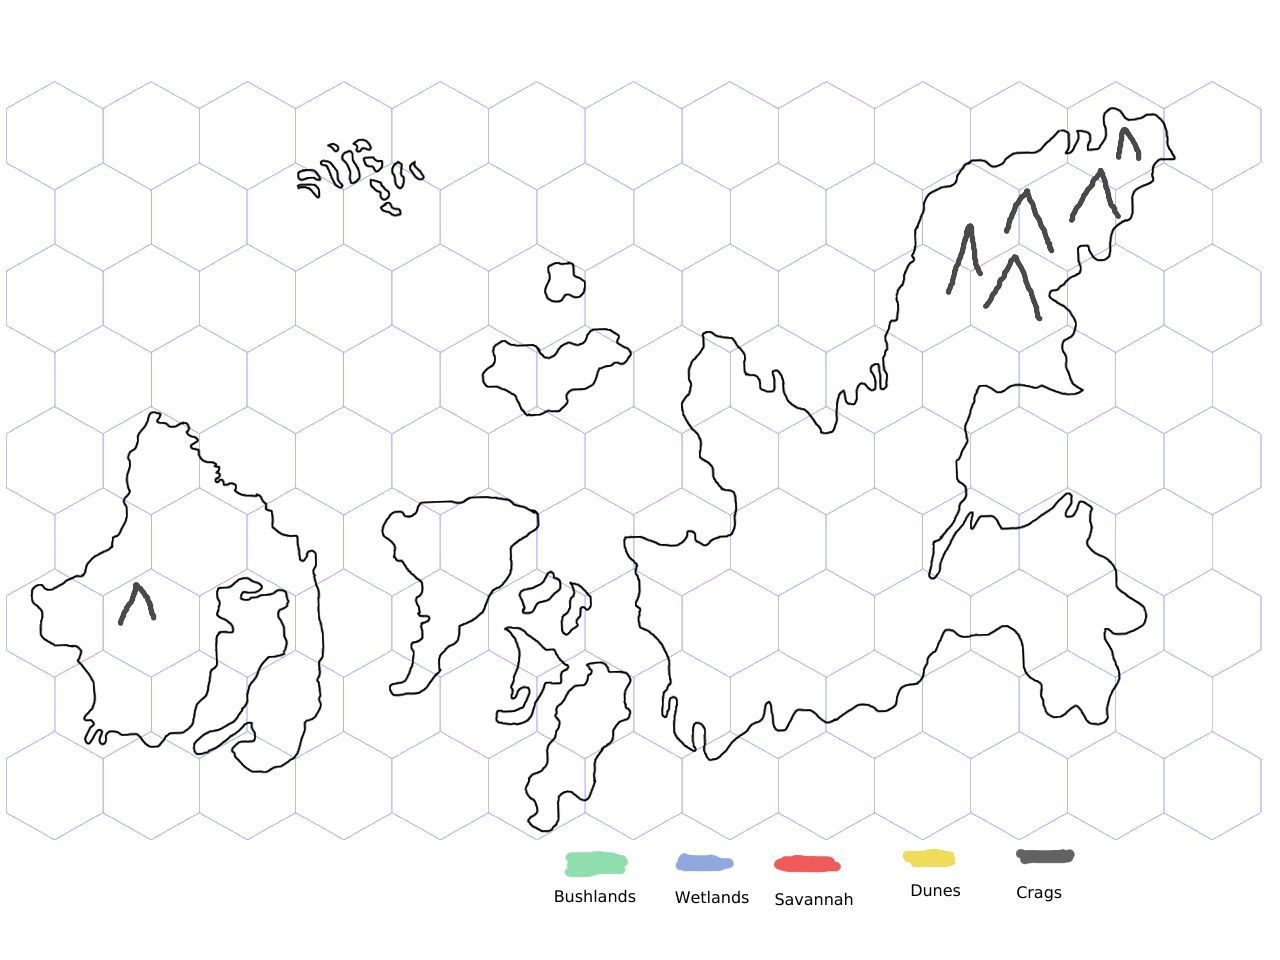
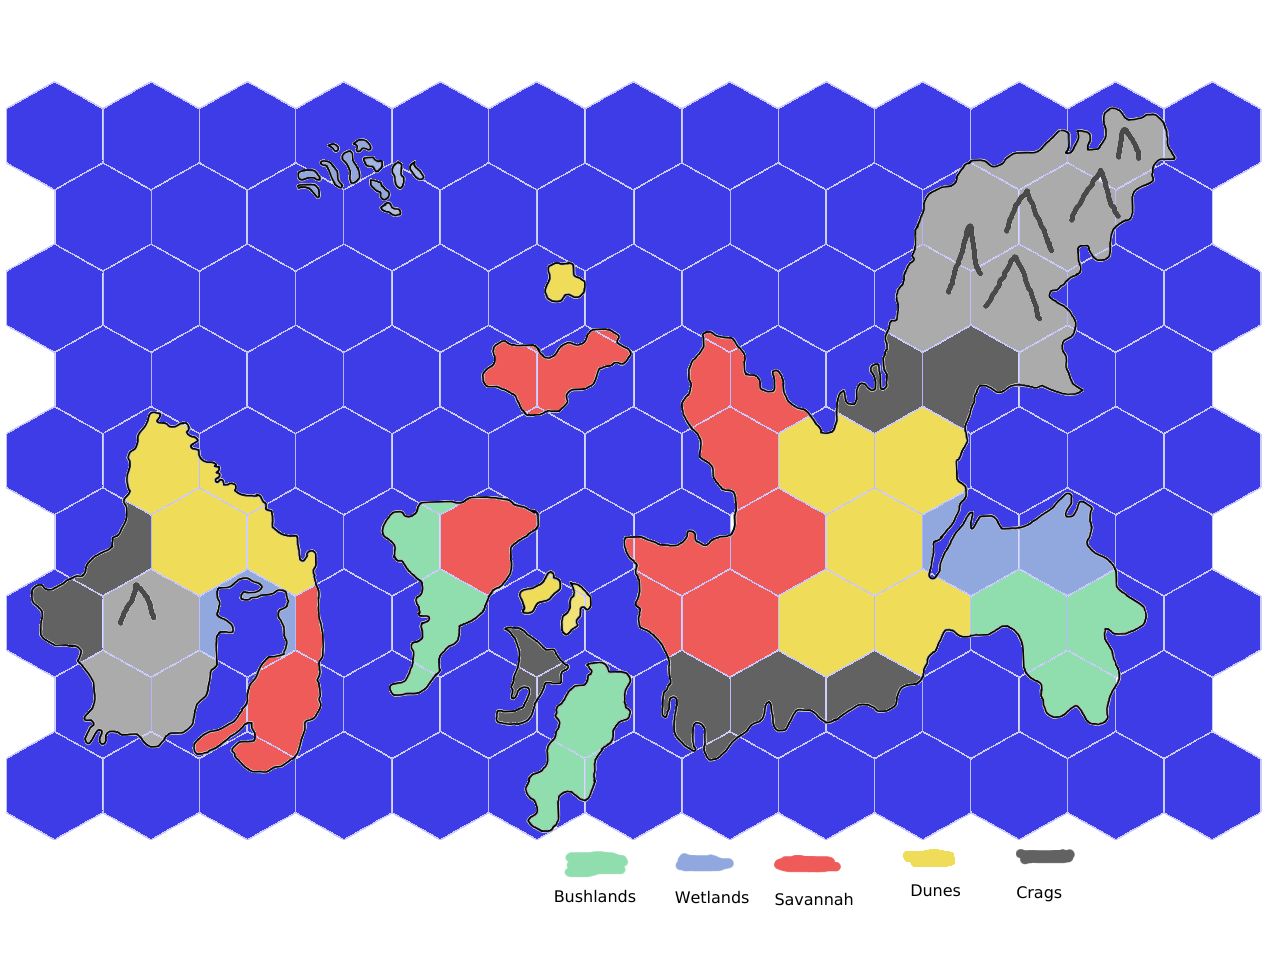
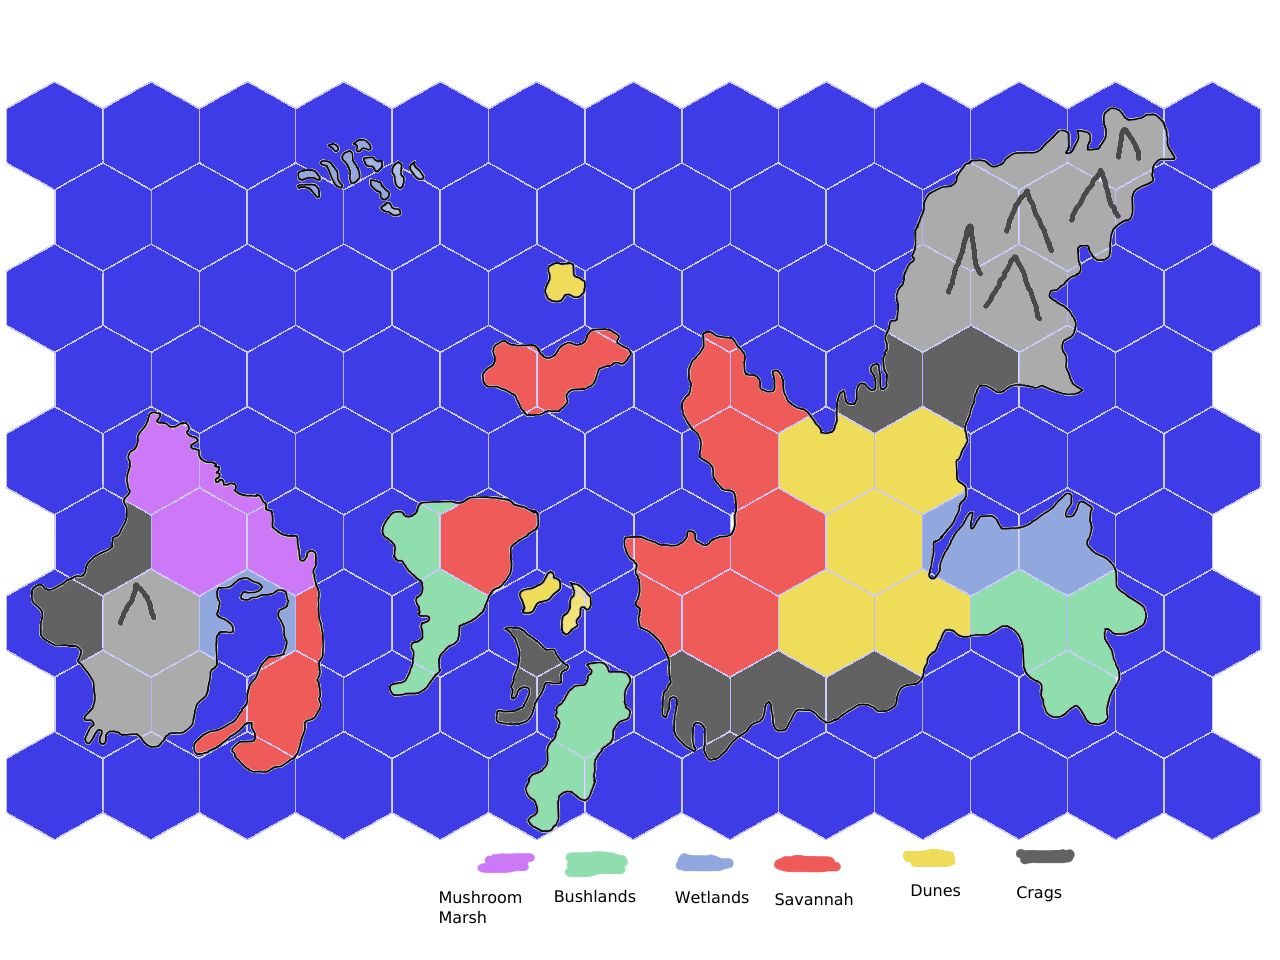
And now to fill in those biomes I was talking about. I decided to colour in the mountain areas with a light shade of grey:
If you’re not working digitally, you can use coloured pencils for this, or just write the names of the biomes where they will go.
Having these biomes on hexes is really useful for a tabletop game: you can create tables of unique events to happen for each kind of biome, and it encourages you to keep things interesting.
If you’re looking at your map, you may realise you have too many biomes, or too few. That’s ok! Come up with more (or less), and change a few hexes. I’m thinking I need another one, just for the southwest island, so I’m adding a “mushroom marsh” biome.
Weird fantasy biomes are fun to play with, if you’re making something that doesn’t need to be “realistic” - one of my other maps had a volcanic swamp, cliffs made of a coral reef (complete with kelp and flying fish), and a curse-poisoned hill-land, among other more normal environments.
What’s next?
In some cases, this is enough for your purposes. But in most cases you’ll want rivers, nations, settlements, canyons, monuments, secret dungeons… and for those, you’ll have to wait until the next part.
If you’re eager to work on those, it’s fairly simple to take the core principle here and apply it to any other feature of a map:
Use the hexes as a guideline to make a vague version. Then replace the vague version with something more detailed and natural.
Feel free to send this article to any worldbuilders or GMs you know – even if they don’t like the technique, they might get something out of it.